28 Jul My Steamer: The Ultimate Tool of the Trade
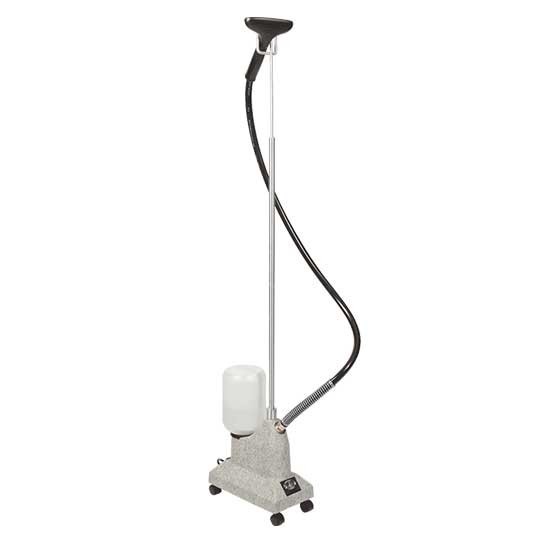
One tool you will always spot anywhere from a runway show to a resale shop is a clothing steamer. Varieties abound, but what’s the best one for vintage clothing and why? In my decades of experience I have tried almost every kind from handheld to standing and I remain loyal to one kind, and that brand is Jiffy.
Jiffy has been making steamers for over 80 years, they use American made parts, and come with a 3 year warranty, so you know it’s a quality product. My model of choice is the J-2. The base is heavy even when the water bottle is empty. Why is this important? When you’re steaming something a cheaper model with a lighter base will roll around on the wheels and can tip over more easily, creating a huge mess, and the last thing you want with an electrical appliance is water everywhere! Jiffy is one of the few companies that make replacement parts that are easy to order, and their customer service is fantastic.
What about a handheld steamer?
Handheld clothing steamers are great for traveling. That’s about it. The heating element is much smaller than their free-standing cousins so the steam output is not as strong. This can contribute to longer steam times and water droplets which can damage clothing.
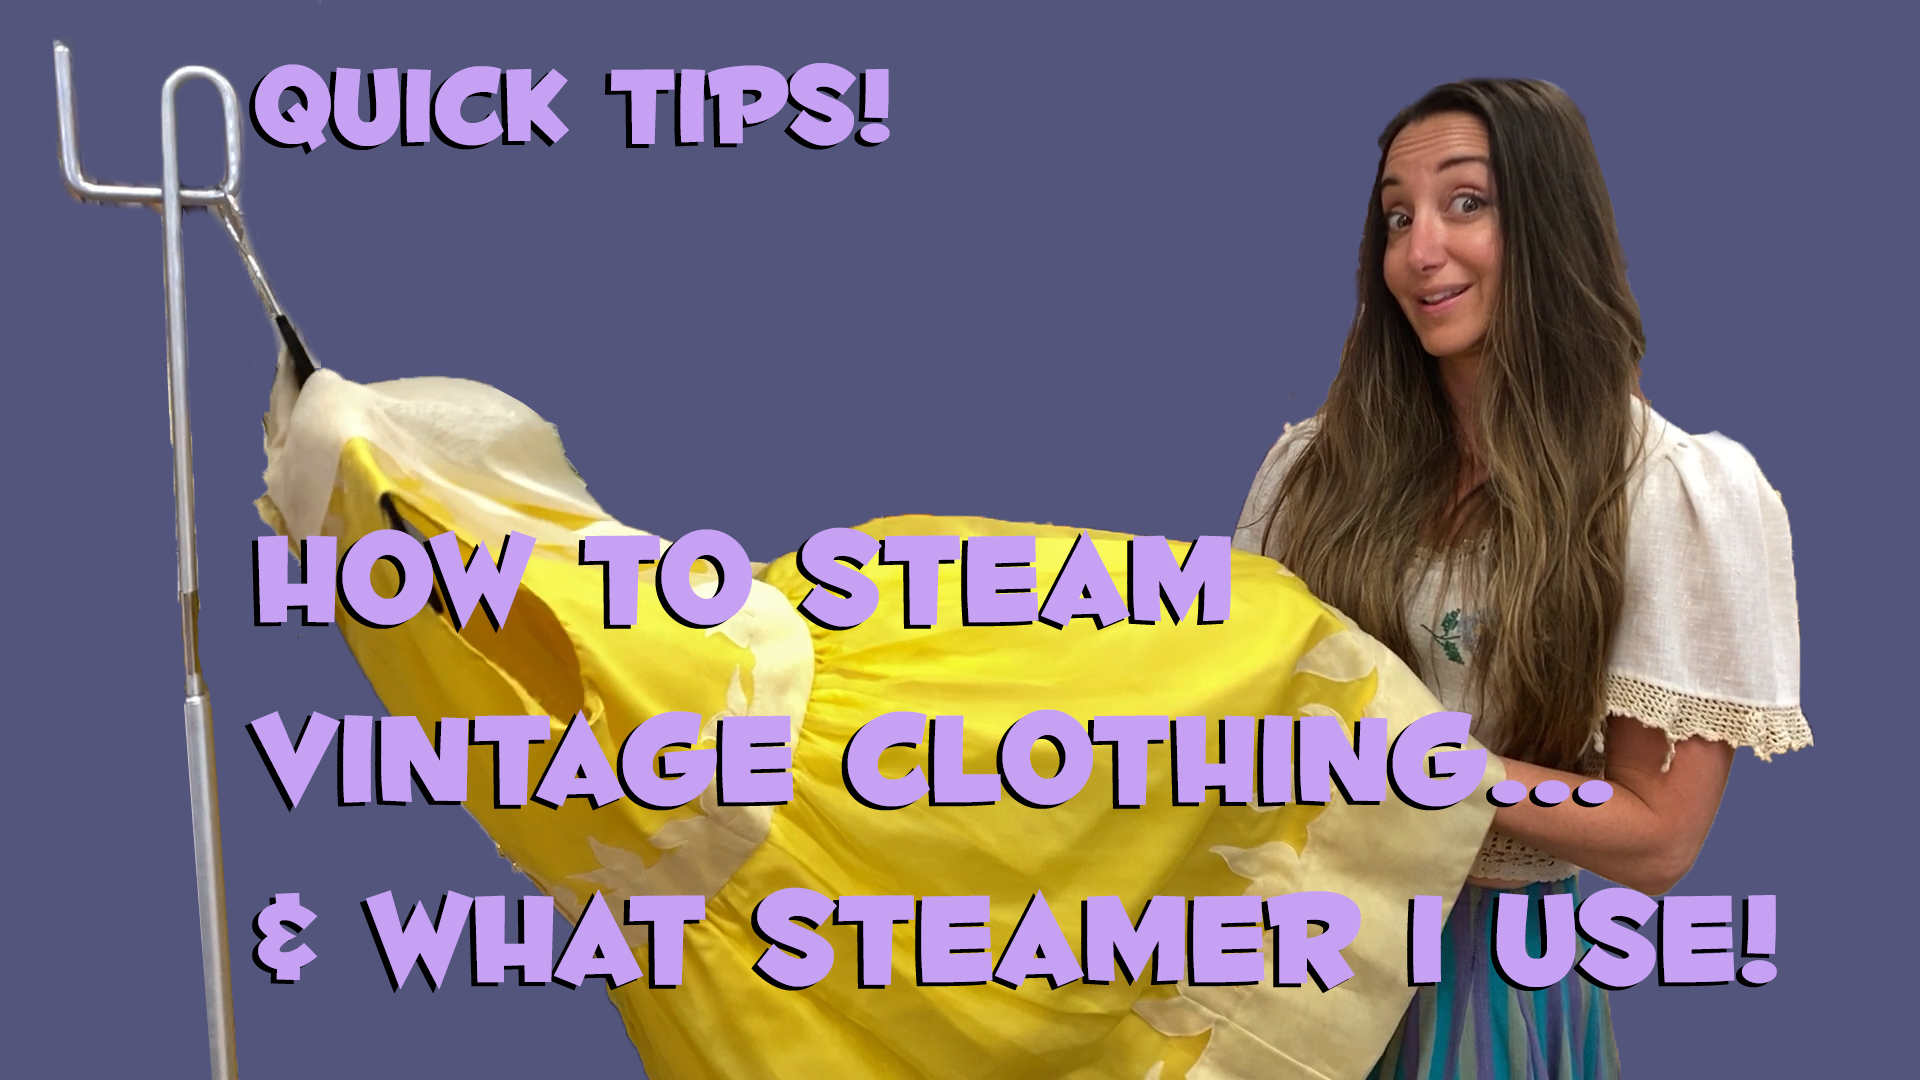
Ok, ok, enough about how much I love a Jiffy standup steamer, how do I use one on vintage clothing??
First thing’s first. Whatever you do, don’t grab that water bottle and walk to your sink to fill it up! Use distilled water only. You can find this usually in the kid’s section of a grocery store or pharmacy. A whole gallon costs less than $2. Tap water has many impurities in it, so when the water is vaporized those particles will gather at the heating element and eventually clog up steamer. make sure your steamer is unplugged when replacing the bottle, or…ZAP. Unscrew the cap and fill the bottle to the line, then place it on the steamer.
With the nozzle in the cradle, plug in and turn on the steamer. Within a few minutes you’ll start to see steam pour through the holes. Steam is hot and long exposure to it will burn your hands. The hose will also get warm so be wary of its positioning as well. If you’re worried about getting burned steaming gloves are available. Personally, I find gloves to be cumbersome.
Hang your garment on the cradle or something high like a shower curtain rod. I have plenty of racks to hang my garments on. Lowering the handle and hose slows down the expulsion of the steam, when this happens water will drip out of the holes and will burn you. If you continue to keep the handle at about waist height or higher you are much less likely to have this happen.
Place the handle directly onto the garment. My preferred method is beneath the garment, so you can let science do most of the work and let the steam rise through the fabric. A steamer will not singe fabric like an iron will. You can use a steamer on almost any fiber. Fur, leather, and suede are not recommended. I have even used it on a vinyl sign! Soon you should see your wrinkles dissipate. Work from the top down and keep your movements fluid to avoid a buildup of steam in one area. Sometimes you will see a collection of steam leave a water droplet on the fabric, don’t freak! It will dry out. When steaming a scarf, ribbon, or hankie keep the handle in the cradle and shift the item across the holes of the steamer head, by holding it taught you can get a more crisp shape.
Creating a folded edge, like a pleat or collar point, can be difficult to achieve with a steamer. An iron is preferred for this type of task, if you are wary of the iron burning the clothing use a light setting and place a lightweight fabric like muslin in between the hot metal and your vintage treasure.
What’s that smell?
Steaming can bring out hidden (or sometimes not so hidden) odors in vintage clothing. When washing isn’t an option and drycleaning could be dangerous for antique pieces giving the item a steam or two can help remove the smells. The Laundress makes a fantastic product called Ironing Water. Add a bit to your steamer water will assist the freshening process and leave the clothes smelling fresh. It is biodegradable, allergen-free and nontoxic. I am a new devotee to the brand and super in love with it.
When making a costly purchase I like to apply a “cost per wear” philosophy. You can also equate it to this type of expense. If you love vintage and antique clothing a steamer is a great tool you will continue to use and is much gentler than ironing. It can be used on just about any fiber, whether they are wearables or household linens. So in short, you won’t regret investing in a quality steamer. Always use the correct water, and a nice splurge is a luxurious additive from the Laundress.
Sorry, the comment form is closed at this time.